On the Settings screen, select Printer Setup to begin.
Two options will be available - Connect a Printer and Receipt Format.
Select Connect a Printer to begin your printer setup.
The Connect a Printer screen will open, with options to complete the setup via Bluetooth or LAN.
When the preferred method is selected, press Scan on Bluetooth or Scan for Devices on LAN to list the available printers.
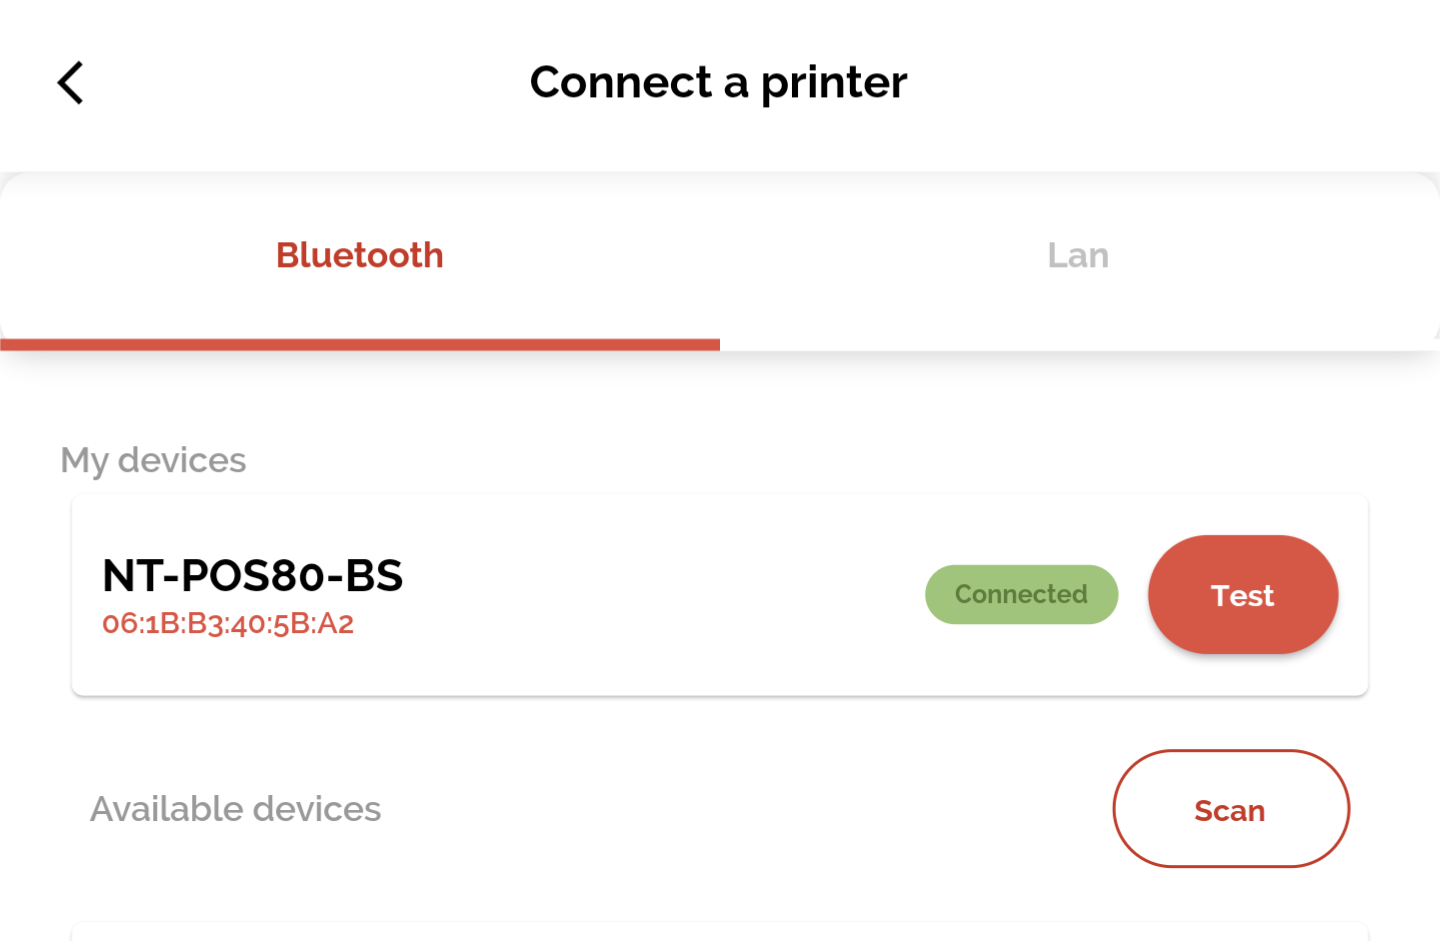
When the printer is listed, press Connect to connect your printer - press Test to complete a test printout to ensure the printer is connected successfully.
After successfully connecting your printer, return to the previous screen and select Receipt Format to customise your receipts when printed or e-mailed to customers.
On the Receipt screen, press the Edit button at the top of the screen to customise the Receipt Header, where you can enter the Business Name with three additional lines to include information such as the business address, contact number and email address, for example.
The Edit button at the bottom of the screen allows you to add any Social Media Links for Facebook, Twitter, LinkedIn or Instagram, if applicable - these can be switched ON or OFF if required.
X
![]()